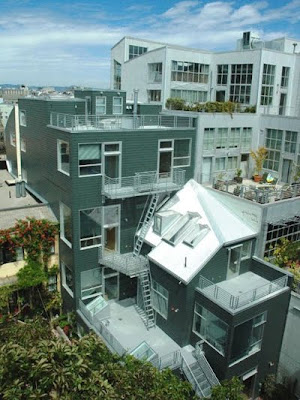
I'll start off with the original image:
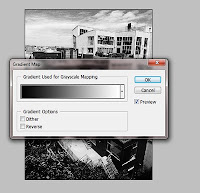
We're gonna navigate to the layer tab on the top and scroll down to new adjustment layer and next the gradient map. Make sure your colors are set to default black and white. You can just press "d" on your keyboard for default colors. When clicking on gradient map it should prompt you to make a new layer and choose what gradient colors to use. To make it simple just click "ok" two times.
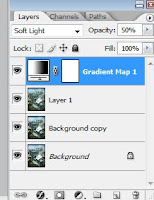
Next on the layers pallete click on the drop down box that says "Normal" and choose "Soft Light" then set the opacity to 50%. Then merge the two layers. By right clicking on the layer and merge down.
It should come out like this:

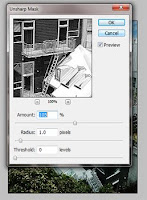
Next navigate to the filter tab, scroll down to sharpen, and choose unsharp mask. Set the amount to 105%.
It should come out like this now:
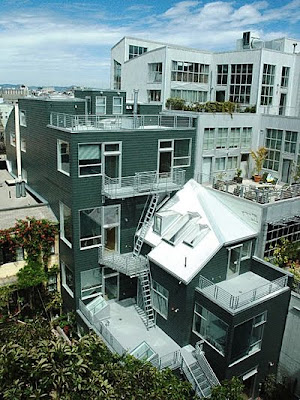
Next navigate the blur tool on your left. It's the gray water droplet icon and blur around the portion that you want the viewer to focus on in your image. Here's my finished product:

No comments:
Post a Comment